Hi makers! Welcome to my blog. Hope you are doing great. Yesterday, while sitting in my office, a thought came to my mind. Most 3D print failures happen because of small mistakes. These failures can be prevented by following a few simple steps. I suffered a lot, but I don’t want you to go through the same problems. That’s why I created this Pre-3D printing checklist. So here are 8 things every maker should check before hitting print. These will surely save your time, effort, and filament.
1. Nozzle and Bed Cleanliness
I faced many print failures due to an unclean nozzle and bed. This can destroy your print at a very early stage. Basically, the first layer comes off the print bed.
So, before printing, do these two things—
- Clean the nozzle of your 3D printer if any leftover filament remains from the previous print.
- Clean the print bed with ISO-propyl alcohol at least once before starting the next 3D print. This will remove all oil, fingerprints or dust from your print bed.
Always remember: clean bed = better bed adhesion.
I got really good results from this step. It may be a small step but the impact is massive.
2. Filament check
Checking the filament before every print is very important. If you leave your 3D printer idle for a few days or weeks, your filament may absorb moisture or collect dust. This can definitely lead your print to failure.
Sometimes, filament gets tangled on the spool. This stops filament feeding to the printer and causes layer gaps and print failure. I got some tangled PLA spool sometimes. And that cause me A day print get destroyed.
Some times, you needs to be sure about what filament you want to use. Because print with PLA is easy. But if you’re printing with ABS, then you need to prepare you print bed and surround environment of 3d printer. Because ABS is not an easy nut to crack.
So let’s make a filament check list for you.
- Is the filament dry?
- Is it tangled?
- Is it the right type (PLA/PETG/ABS)
- Is the spool feeding smoothly?
With this check list you are good to go with your print.
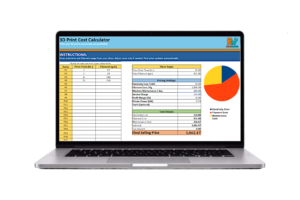
Need to price 3D print?
Try our Cost Calculator
3. Bed level and Z-offset
3D printer bed leveling is the thing that can take you from zero to hero. A well-leveled print bed is the foundation of every successful 3D print. If Print bed is not levelled properly, first layer will never stick properly and that will cause you print failure. So lets see some key points related to print-bed level and Z- axis offset of 3d printer.
- Quick 4-conner check
- Ensure first layer stick evenly
- Z-offset should not be too high or too low. Always remember: a perfect first layer = a successful print.
4. Slicer setting review
slicer settings, this is where most beginners (including me, back in the day) mess things up. I can’t tell you how many prints I ruined just because I forgot to check one tiny setting in the slicer.
Trust me, this part is more important than we think. Before hitting print, take a quick look at these slicer settings. Just 20–30 seconds can save you hours of printing.
1. Layer Height—
Make sure you’re using the correct layer height for your print.
0.2 mm is great for everyday prints. 0.12–0.16 mm works better for detailed models. I personally prefer 0.16 mm layer height. In my opinion its gives a great balance between print time and print strength. Keep one think in mind that, layer height also affects the print strength.
2. Infill—
Check both the percentage and the pattern. A small change here can make your print stronger, lighter, or faster. I personally check this twice because I often forget to change it from my last project. Additionally if you want to learn more about infill, you can check “What Is Infill in 3D Printing? A Simple Guide for Makers”
3. Wall Thickness—
If you want strength, increasing wall thickness works better than just increasing infill. Make sure it matches the nozzle size you are using. Let’s say nozzle size of your 3d printer is 0.4mm then you should choose a wall thickness that divisible by 0.4, like 1.6mm, 2mm, 2.4mm etc.
4. Supports—
Ah supports… we all love to hate them. Make sure supports are actually placed where needed. I’ve printed entire parts hanging in the air because I forgot supports were turned off. There are mainly 2 types of supports, normal and tree.
Tip- if your print is curvy, use Tree support.
5. Print Speed—
If you are printing something detailed, reduce the speed. If you are printing a simple box or utility part, go faster to save time.
6. Temperature Settings—
Always check if the slicer selected the right nozzle and bed temperature for your filament. Sometimes slicer profiles carry over the previous filament settings by mistake.
Your slicer remembers your last print. But your next print may need completely different settings. once I forgot to change temperature setting after replace PLA spool with ABS…and that’s disaster. So give it a 20-second review before printing — your future self will thank you.
5. First layer observation
You press “start print” and the moment your printer start printing, you leave it on it’s own. This is not right—this is where a little patience is required. You should wait until the first 2-3 layers to completely printed. See if there is any sign of coming off print bed, you should stop the print. Otherwise, if the first layers go fine, you can leave it running. Now grab a cup of coffee and chill.
There are few signs, if after few layers of print the edge of the layers starts bending upwards or you see patches in the middle of first print layer. Stop the print right there.
Then only start printing after cleaning the bed and proper leveling.
Always remember- Stop early = save filament and time.
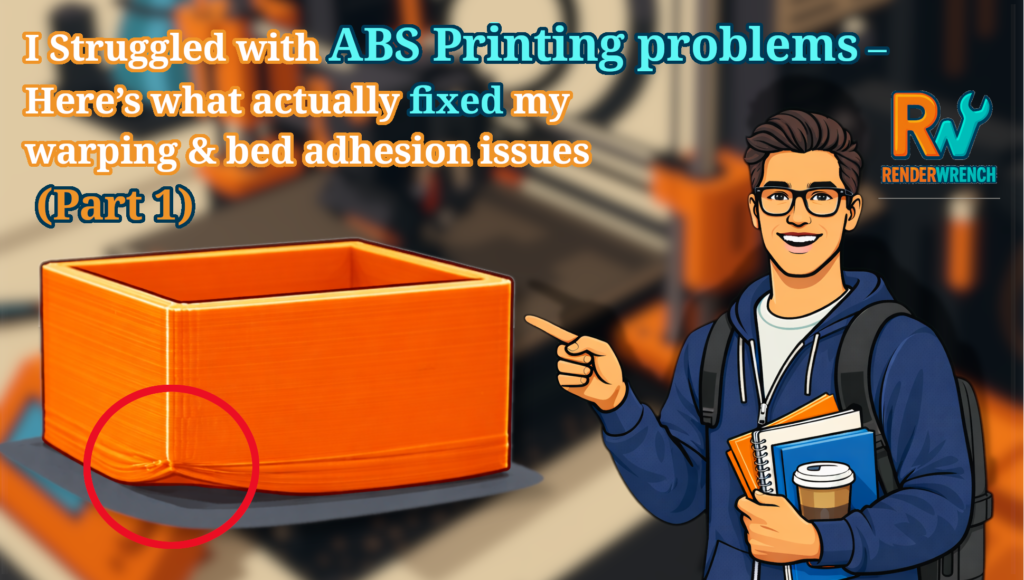
6. Print bed adhesion
Print bed adhesion is very important for 3d print. Print bed adhesion is not equal for every material. Like, print with PLA is quite easy. It does not require anything special. But with material like ABS required much attention.
There in the slicer, there are few settings to improve bed adhesion. But for material like ABS required more. There are some remedies like – Glue stick, PEI sheet, Blue tape etc.
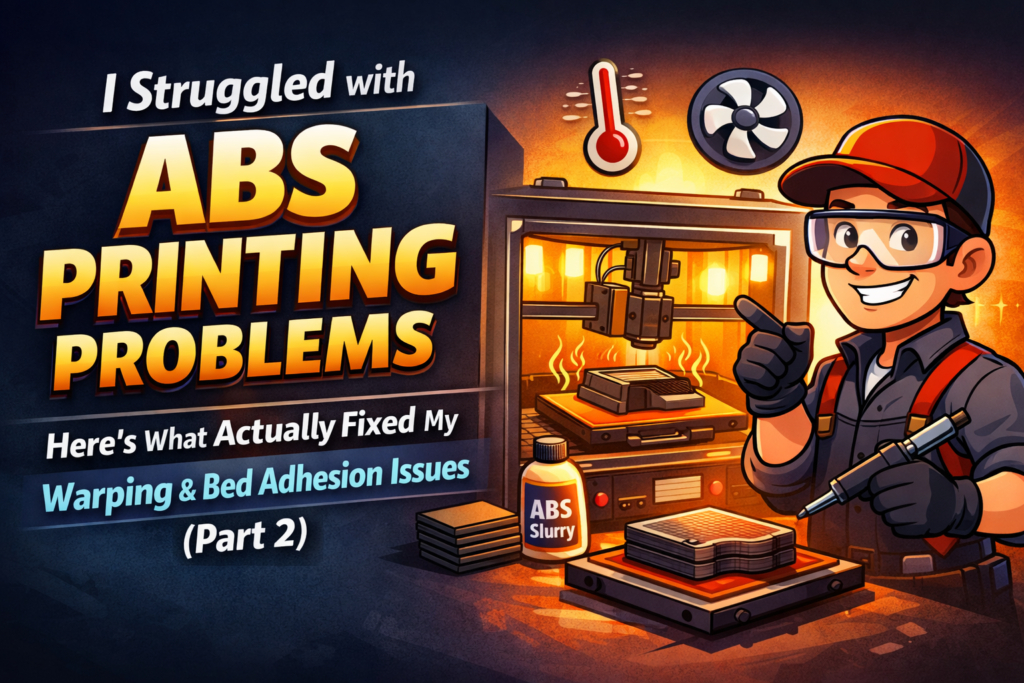
For example, print with ABS required Something called ABS slurry. That helps ABS to print bed and. There are lot’s of thinks like this. I will discuss them may be in other post.
7. Model Orientation & Supports Check
Print orientation is very underrated. Most beginners don’t pay attention to the model orientation. Printing parts in right orientation is very important if it’s a functional part. Slicing in correct orientation can make your 3d printed parts stronger and save lots of filament. Let’s understand the this with some example.
in the below images you ca see- left one uses lots of support to print but right one doesn’t need a single string of support.
this is how a smart orientation can save a lots of filaments in your 3d prints.


8. Printer mechanical health
Print orientation is very underrated. to the check the 3d printer’s mechanical condition. Before a small mechanical error can cause failed print. To prevent that, you can do some steps –
loose belt – the silent print killer
check your printer’s x-axis and y-axis belt. If they are fill floppy. Immediately tighten them. A loosen belt can cause layer shifting, wavy walls and inaccurate dimenetins. To fix a loosen belt, every 3d printer comes with a belt tensioner. Use it as per manual. But don’t make it too tight. Be mindful.
Wobbling print bed – first layer’s enemy
honestly its not the thing happening everyday. But if it’s happens, things can go really bad. It can cause print failure at 20% or 80%…you dint know.
So before every print gently push the print-bed b hand, from front and side. If nothing move horribly you are good to go. But if moves, then start tightening bed screws. Then check again.
Nozzle Tightness — Avoid Leaks & Under-Extrusion
The nozzle may look like a small part, but it plays a very important role in print quality. A slightly loose nozzle can cause serious problems without you noticing at first. If the nozzle is not tightened properly, melted filament can leak from the top of the nozzle instead of coming out cleanly. This leads to inconsistent extrusion, random blobs on the print, and sometimes even under- extrusion or clogging. Before starting a print, always make sure the nozzle is properly tightened. The best practice is to heat the nozzle to printing temperature and then gently tighten it using a wrench while holding the heater block. Spending just a few seconds on this step can save you from failed prints and messy hotend issues later.
Extruder Gear Grip — Smooth Filament Feeding
The extruder is responsible for pushing the filament into the hotend, so if the extruder gear doesn’t grip the filament properly, the printer cannot feed material consistently. A weak grip often shows up as clicking sounds, filament slipping, or visible bite marks and dust around the extruder gear. When this happens, the result is under-extrusion, layer gaps, and weak prints that may fail halfway through. Before every print, take a quick look at the extruder area and ensure the filament is feeding smoothly. Cleaning the extruder gear, adjusting the tension spring, or replacing a worn-out gear can instantly improve print reliability. A good extruder grip means smooth filament flow—and smooth filament flow means successful prints.
Quick pre-print checklist
So here is the is the quick check list you can follow —
- Clean bed
- Dry filament
- level bed
- Check slicer
- Watch first layer
this will save you time and effort both.
I know makers like us face the same hurdles along the way, but we learn and improve with every print. I’m still learning too, and I’d love to learn from you. Let me know your experiences in the comments.
If you found this post helpful, share it with your friends and fellow makers — it really encourages me to create more content like this.
You can also follow me on Instagram for updates on every new post and behind-the-scenes maker insights.
Happy making!
Follow RenderWrench on Instagram