Hi makers! Welcome to Part 2 of
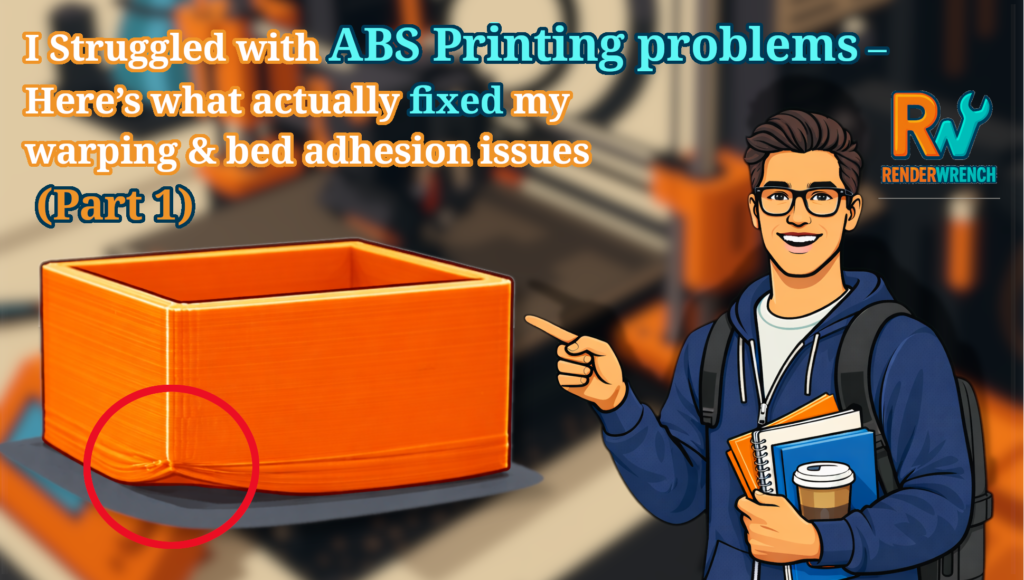
I Struggled with ABS Printing problems – Here’s what actually fixed my warping & bed adhesion issues (Part 1)
In Part 1, I shared all the real problems I faced while printing with ABS — parts lifting off the bed, first layer bending, random failures in the middle of the print, and endless frustration.
At one point, I was honestly close to giving up on ABS completely.
But then I realized one very important thing:
ABS didn’t fail because of one mistake — it failed because I ignored thermal control.
In this post, I’ll show you exactly what I changed, why it worked, and how I finally started getting reliable ABS prints.
No theory dumps. No generic advice. Only what actually worked for me.
Why ABS Needs a Different Mindset
Before jumping into the fixes, there’s something important you need to understand. ABS is not like PLA or PETG. With PLA, you can print in an open room, walk away, and still get decent results.
ABS doesn’t forgive that.
ABS shrinks as it cools. If one part cools faster than another, internal stress builds up. That stress pulls the part off the bed or causes edges to curl upward.
This means:
- Increasing nozzle temperature alone won’t fix ABS
- Bed temperature alone won’t fix ABS
- Adhesion tricks alone won’t fix ABS
ABS needs a stable thermal environment.
Once I accepted this, everything started making sense.
Fix #1 — Building a Proper Enclosure (The Game Changer)
The problem it solved
- First-layer lifting
- Edge curling
- Random mid-print failures
My printer (Creality Ender 3 S1 Pro) does not come with a stock enclosure.
And that was the biggest reason ABS kept failing.
So I built a DIY enclosure from scratch.
Nothing fancy.
Just a closed space around the printer to trap heat.
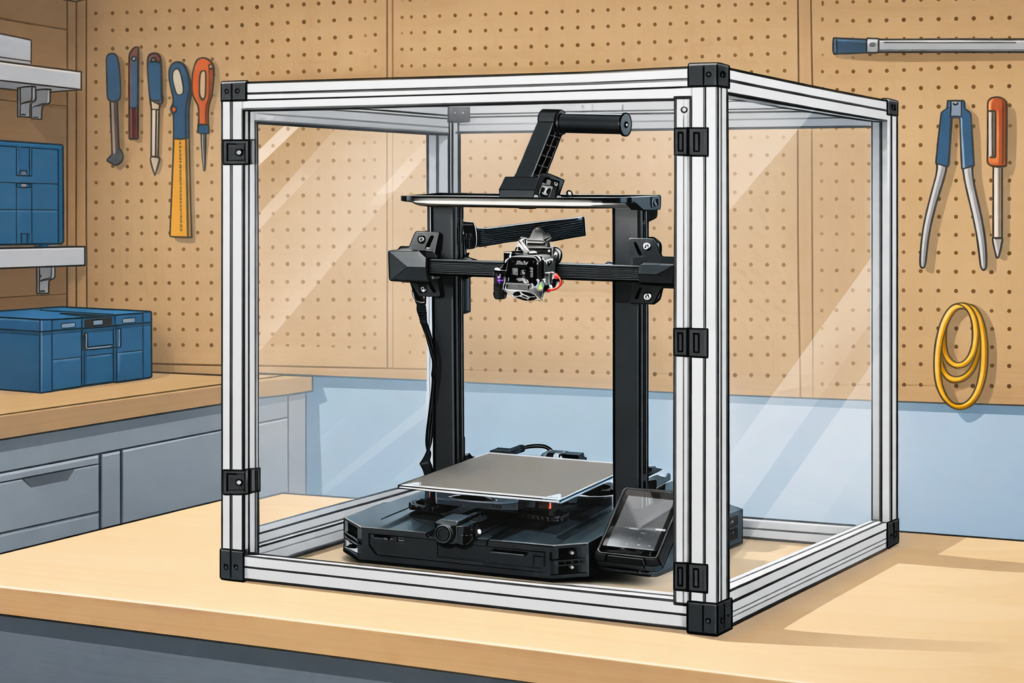
Why the enclosure worked
- It reduced temperature fluctuation
- It slowed down cooling
- It kept the entire print at a similar temperature
Once the enclosure was in place, ABS stopped behaving like a rebellious material.
RenderWrench truth:
For ABS, an enclosure is not optional. It’s mandatory.
Fix #2 — Solving ABS Printing Problems with Active Enclosure Heating
At first, I thought the enclosure alone was enough. It wasn’t.
During long prints, the enclosure temperature slowly dropped — especially at night. That temperature drop caused shrinkage, which again led to warping and parts lifting off the bed.
So I added an active heating system inside the enclosure. the system it self is very easy . it consist of a Arduino uno , a temperature sensor, a Riley and a old hair dryer. yes, its completely DIY.
If you want to know more on the Heating system, let me know in comment.
What I targeted
- Enclosure temperature: 55–60°C
This made a huge difference. Now the printed part cooled slowly and evenly, instead of fighting cold air from the surroundings.
⚠️ Important safety note:
If you add heating inside an enclosure, always:
- Monitor temperature
- Avoid exposed wiring
- Keep fire safety in mind
Fix #3 — ABS Slurry (Finally Solving Bed Adhesion)
Even with thermal control, bed adhesion still needed improvement.
Glue stick helped a little — but not enough.
So I switched to ABS slurry. I made the Slurry with 2 portion of Acetone with 1 portion of ABS weight. and its worked like magic.
Why ABS slurry worked
- ABS sticks best to ABS
- It creates chemical bonding, not just surface friction
- Once the first layer sticks, it really sticks
After applying ABS slurry, heating the bed properly and clean the surface with IPA, parts stopped sliding around completely.
From that point onward, bed adhesion was no longer my enemy.
Fix #4 — Slicer Settings That Actually Matter for ABS
This is where many people waste time tweaking random settings. Here’s what actually mattered for me:
Nozzle & Bed Temperature
- Increasing nozzle temperature alone didn’t help
- Balanced temperature + enclosure did
Cooling Fan
- Part cooling fan OFF or low speed
- ABS hates sudden cooling
Print Speed
- Slower prints = less stress
- ABS prefers patience
Walls Over Infill
- Increasing wall thickness helped more than increasing infill
- Thicker walls handle stress better
Once these were dialed in, ABS prints became predictable.
Fix #5 — The One Nobody Recommended: Using a Raft
Everyone says:
“Avoid rafts.”
For ABS?
That advice nearly made me quit.
Why the raft worked
- Acts as a thermal buffer
- Compensates for uneven bed expansion
- Absorbs stress before it reaches the part
Yes, rafts use more material.
Yes, they need post-processing.
But they saved my prints.
RenderWrench lesson:
Rules are suggestions. Results matter more.
Final Result — From Failure to Reliable ABS Prints
After applying all these fixes together:
- Prints stopped lifting
- Edges stayed flat
- Long prints completed successfully
- ABS became reliable, not scary
The biggest takeaway?
ABS doesn’t need luck. It needs control.
What I’d Do Differently If I Started Again
If I could go back:
- I’d build the enclosure first
- I’d stop copying PLA habits
- I’d control the environment before touching slicer settings
- I’d respect ABS instead of fighting it
Should You Even Use ABS?
ABS is worth it if:
- You need heat resistance
- You need strength
- You can control the environment
If not, PETG or ASA may be a better choice.
ABS is not bad — it’s just honest.
Wrap-Up
ABS almost made me quit 3D printing.
But once I stopped blaming the material and started understanding it, ABS became one of the most rewarding filaments I’ve worked with.
If you’re struggling with ABS printing problems — warping, bed adhesion, failed prints — I hope this post saves you days of frustration.
If you’ve fought ABS before, let me know in the comments.
And if this post helped you, share it with a fellow maker who’s about to rage-quit ABS.
More posts from the RenderWrench 3D Printing Series are coming soon.
Until then —
print smart, control the heat, and happy making. 🔧🔥
Follow RenderWrench on Instagram