
Hi makers! Welcome to a brand new post of the RenderWrench MINI Blog. Hope you are doing great. Today we will talk about INFILL, “what is infill in 3d prints?”.
A lot of beginners think infill only affects strength. Is it true? Yes, it affects strength — but not only strength. Many print properties like weight, print time, and functionality depend on infill. Let’s dive deeper into the topic.
What is infill in 3d prints?
Infill is the internal structure of every 3D-printed part. It supports the outer layers of the printed part. Let’s take the example of FDM 3D printing, where parts are made layer by layer. You can see the outer layer of the printed part takes the final shape of the model. Under the outer layer, there is infill supporting the structure from inside and giving the print its strength.
Why infill matters in 3d printing?
In 3D printing, infill allows us to balance strength, weight, print time, and filament usage. (I wrote a detailed post on filament used in 3D prints — give it a try.) We can do this by changing the infill percentage. For example, if you want a relatively strong but lightweight print, you can use around 30% gyroid infill.
Infill Density / Percentage in 3d printing
In your slicing software, you can choose anywhere from 0% to 100% infill. This changes the physical properties of your prints. Understanding infill percentage is very important learning. You can’t use same infill percentage for your every print. You need to choose the infill percentage wisely because it can save you both time and money
If you want strength in your 3D parts — go for a higher infill percentage. (Requires more print time.)
Need a lightweight part? Go for a lower infill percentage. (Requires less print time.)
Common infill patterns
Just like infill percentage, the physical properties of a 3D print also depend on the infill pattern you select in your slicer software. There may be many infill patterns available in your slicer, but here I will discuss the top 4 infill patterns I use in my prints. So, these are,
- Grid infill
- Gyroid Infill
- Triangular infill
- Lines
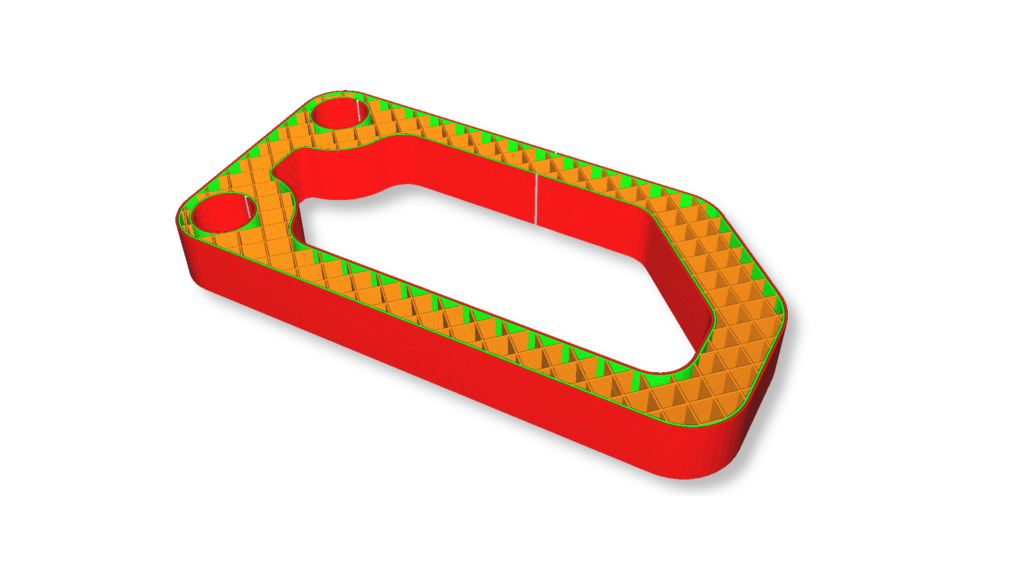
Grid infill
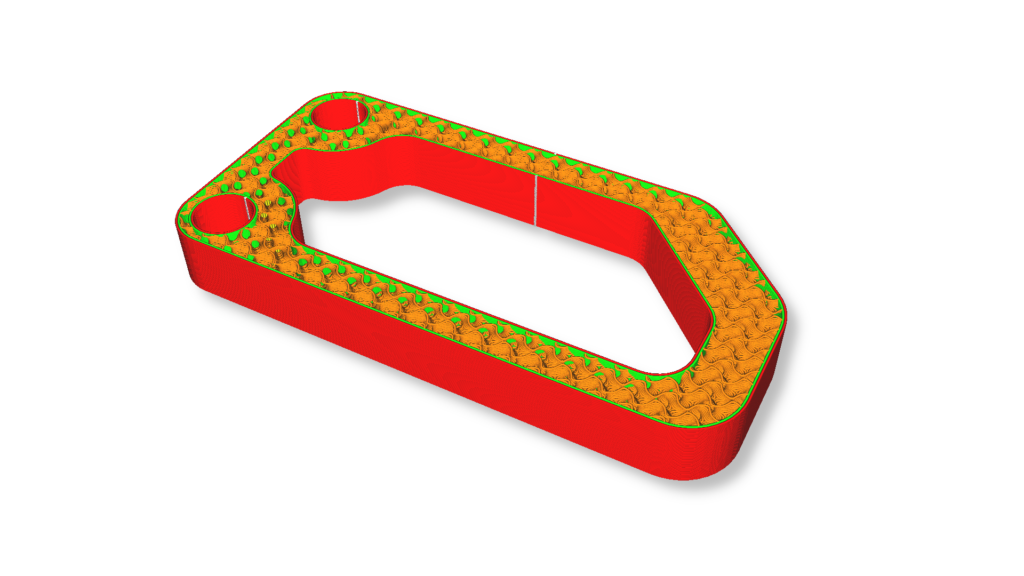
Gyroid infill
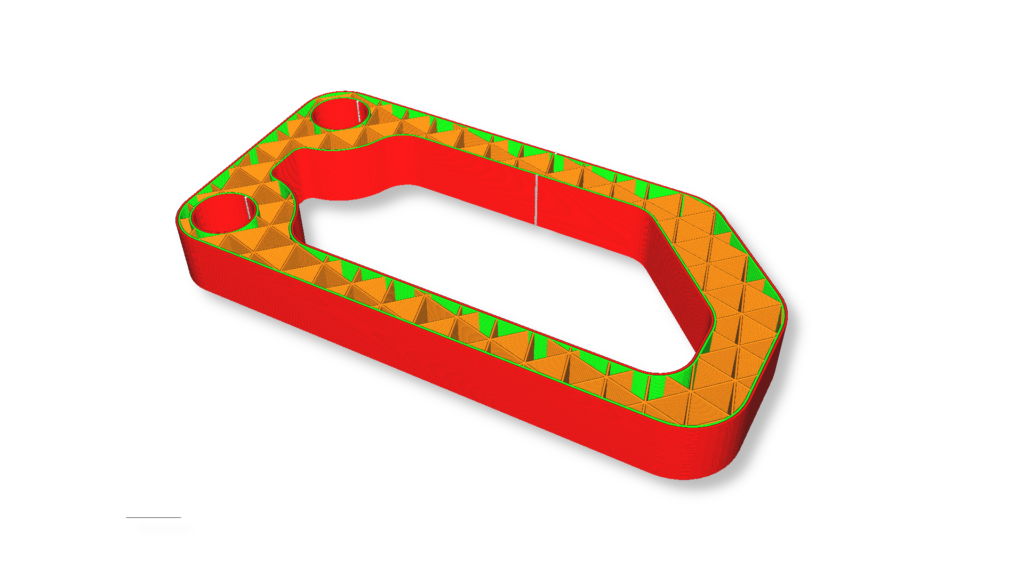
Triangular infill
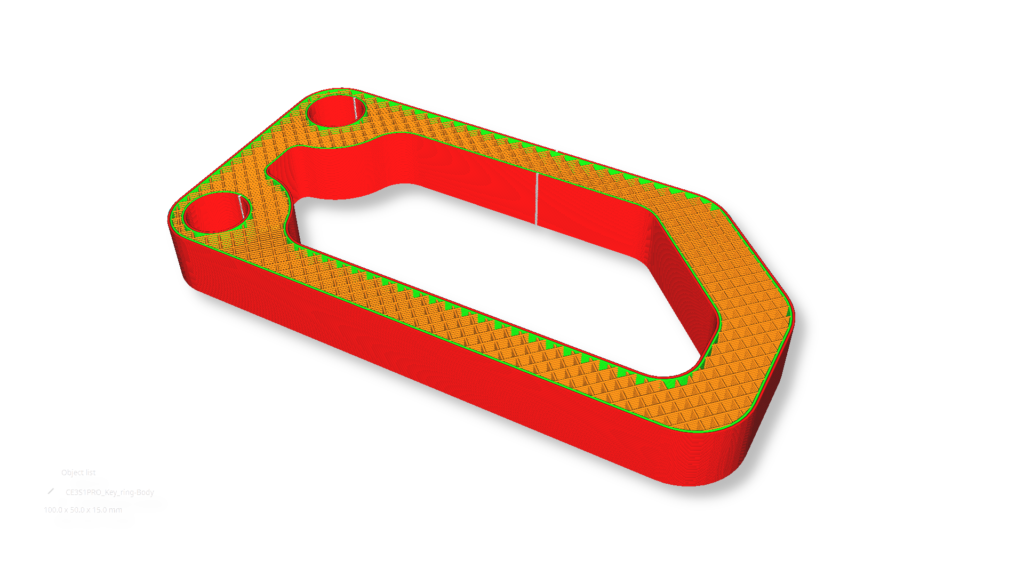
Line infill
Here is a short table for better explanation
| Grid Infill | Gyroid Infill | Triangular Infill | Lines Infill | |
| Description | Criss-cross patterns. | Wavy internal structure with no sharp corners. | Triangular or 3-angle geometry resembling a truss. | Simple line patterns. |
| Best for | Fast prints, decorative prints. | Strong, lightweight parts, great for functional prints. | Load-bearing parts, rigid components. | Decorative prints, visual prints. |
| Strength | Medium | High | Very High | Low |
| Print Speed | Fast | Medium | Slow | Fast |
Among them my Favourite is Gyroid. because, it gives me a perfect balance of Strength and print speed. I use this Infill pattern in most of my prints.
Quick Tips
So, now we have an idea of infill. Let me give you some quick tips from my experience.
- Use gyroid for balanced print strength and speed.
- Increase wall thickness instead of increasing infill, 50% to 70% works for most of the prints.
- Avoid 100% infill.
- PLA usually needs less infill than PETG/ABS.
Hope you learned something from this post. For more insightful tutorials, you can check out the RenderWrench 3D Printing Series and the RenderWrench Basic to Advanced Gear Series.
And make sure to follow RenderWrench on Instagram to get updates on every new post. You can also comment your thoughts below.
See you in my next post! Till then, happy making!


Pingback: 8 Things to Check Before Starting a 3D print (Most People Skip number 5) - RenderWrench